Posted on Leave a comment

Provisional Cast On

Provisional cast on is one of my favorite knitting techniques. It is a cast on that you remove later, freeing live stitches that you can knit. I sometimes make a provisional cast on in the middle of a stockinette sweater if I haven’t decided how long it will be. Or if I’m not sure I have enough yarn. A provisional cast on is sometimes a good idea instead of an edge that stays when knitting sweaters both top-down and bottom-up. By finishing all edges with bind offs, I find that it is easier to make edges that fall perfectly. And bind offs on all edges also make them identical.

There are several methods for casting on provisionally, so I am going to show the one I think is the easiest. When using this method, you crochet the provisional stitches around the knitting needle. Below, I show the method both for left-handed and righ-thanded people. I am left-handed, so I know how impossible it is to study photos to learn something new while simultaneously having to mirror the photos in your head!! I made the right-handed photos by mirroring the images.

Use another type of yarn than the one that will be used for knitting. A smooth cotton yarn is perfect. Use a crochet hook with about the same size as your knitting needle. To begin, make a standard slip knot:
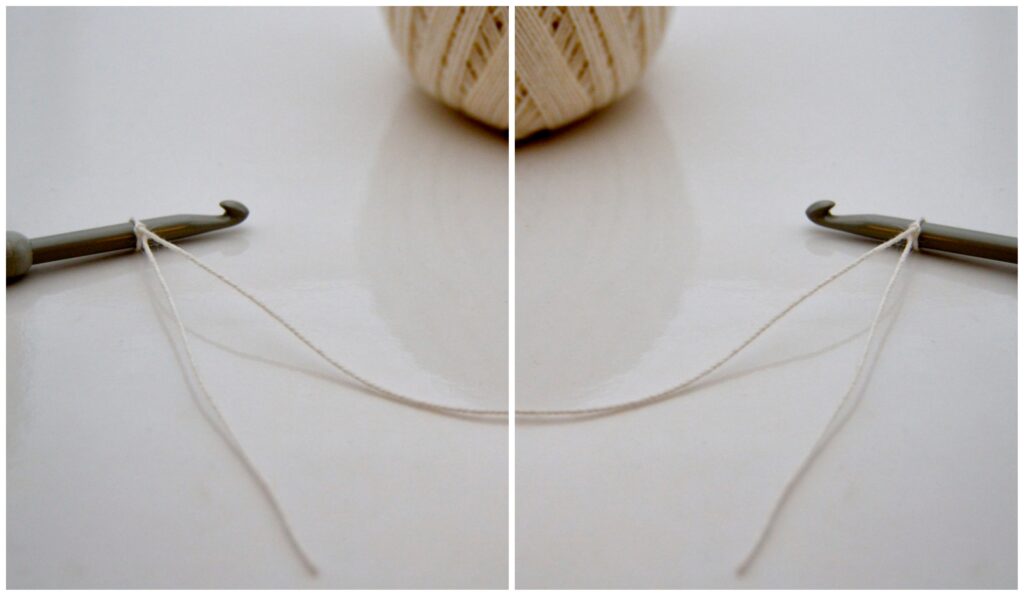
Put the knitting needle below the crochet hook, making the yarn end hanging over the needle:
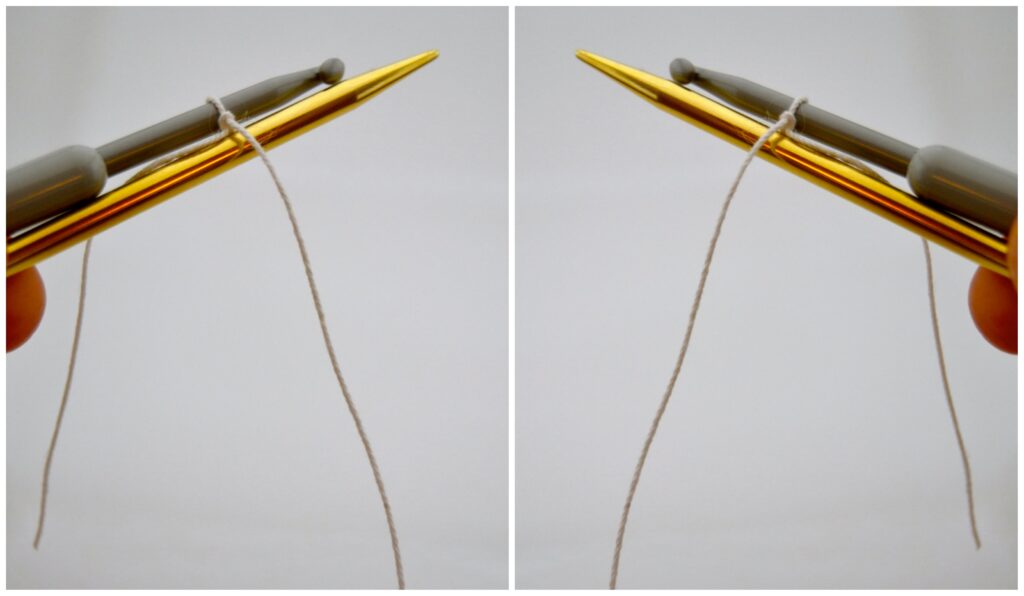
Carry the yarn up the back of the needle and over the hook:
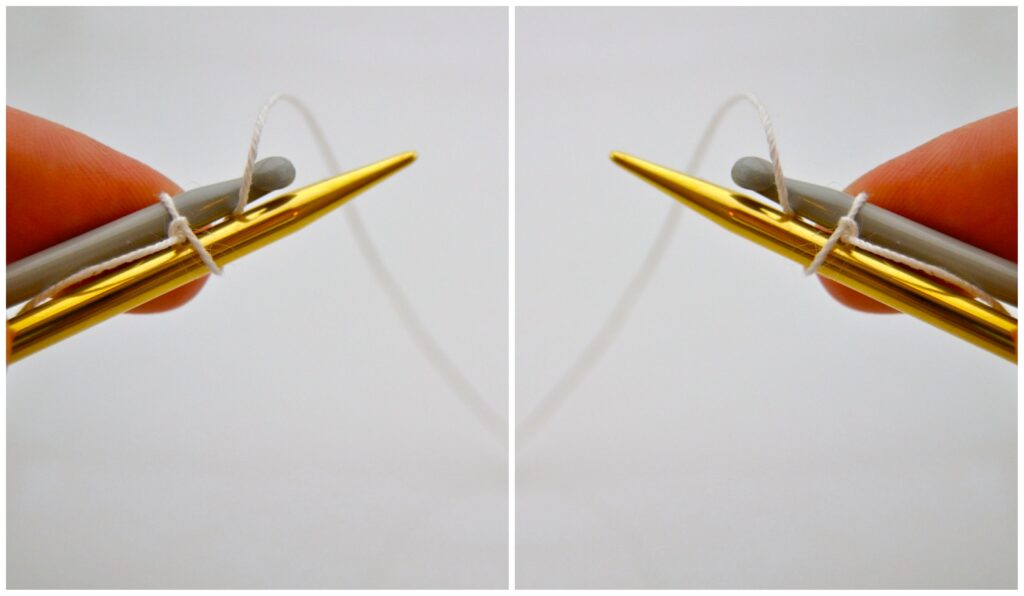
Pull the yarn through the loop that was already sitting on the hook – there is now one stitch on the needle:
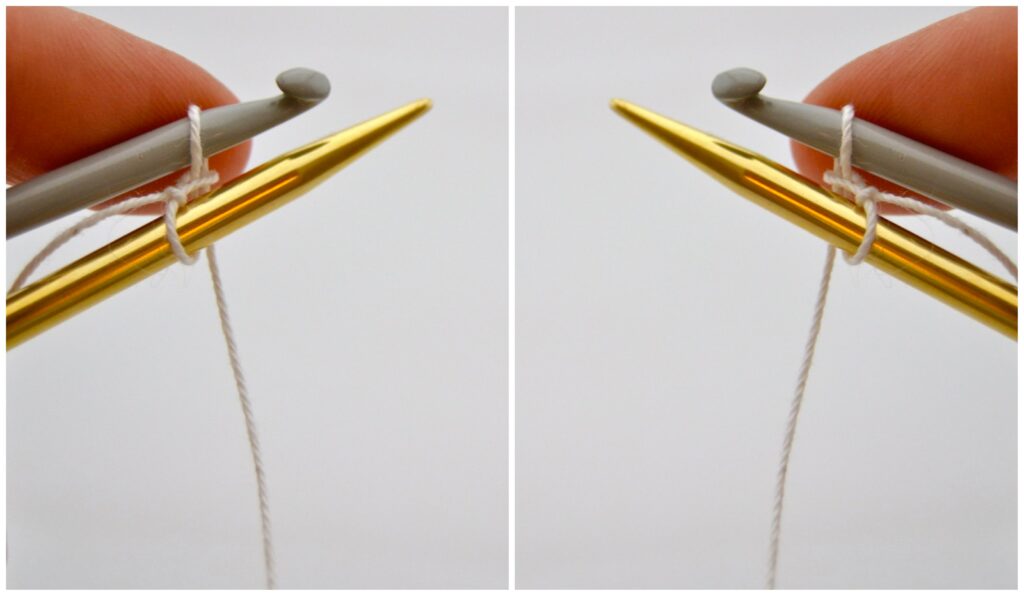
Carry on in the same way – for each stitch, the yarn goes over the front of the needle, up its back, over the hook, and pull through the loop:
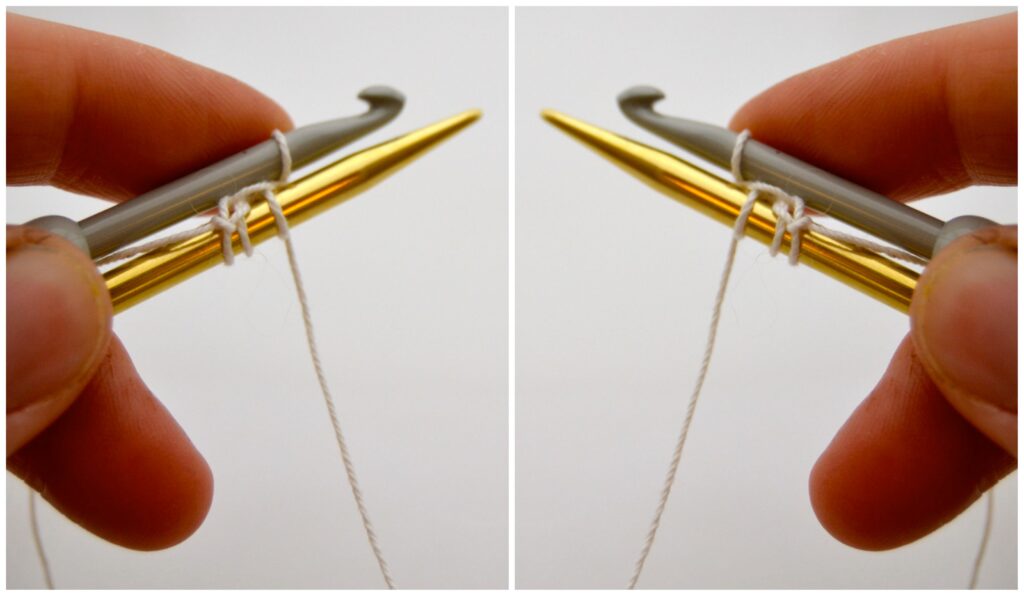
Cut the yarn when enough stitches are cast on. From now on, things look the same for left- and right-handed people. The cut end is on the right side:
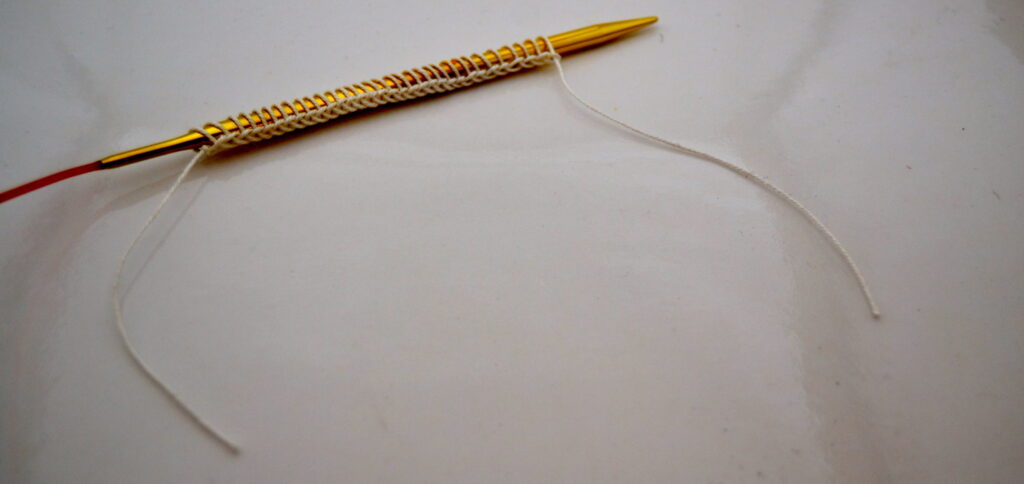
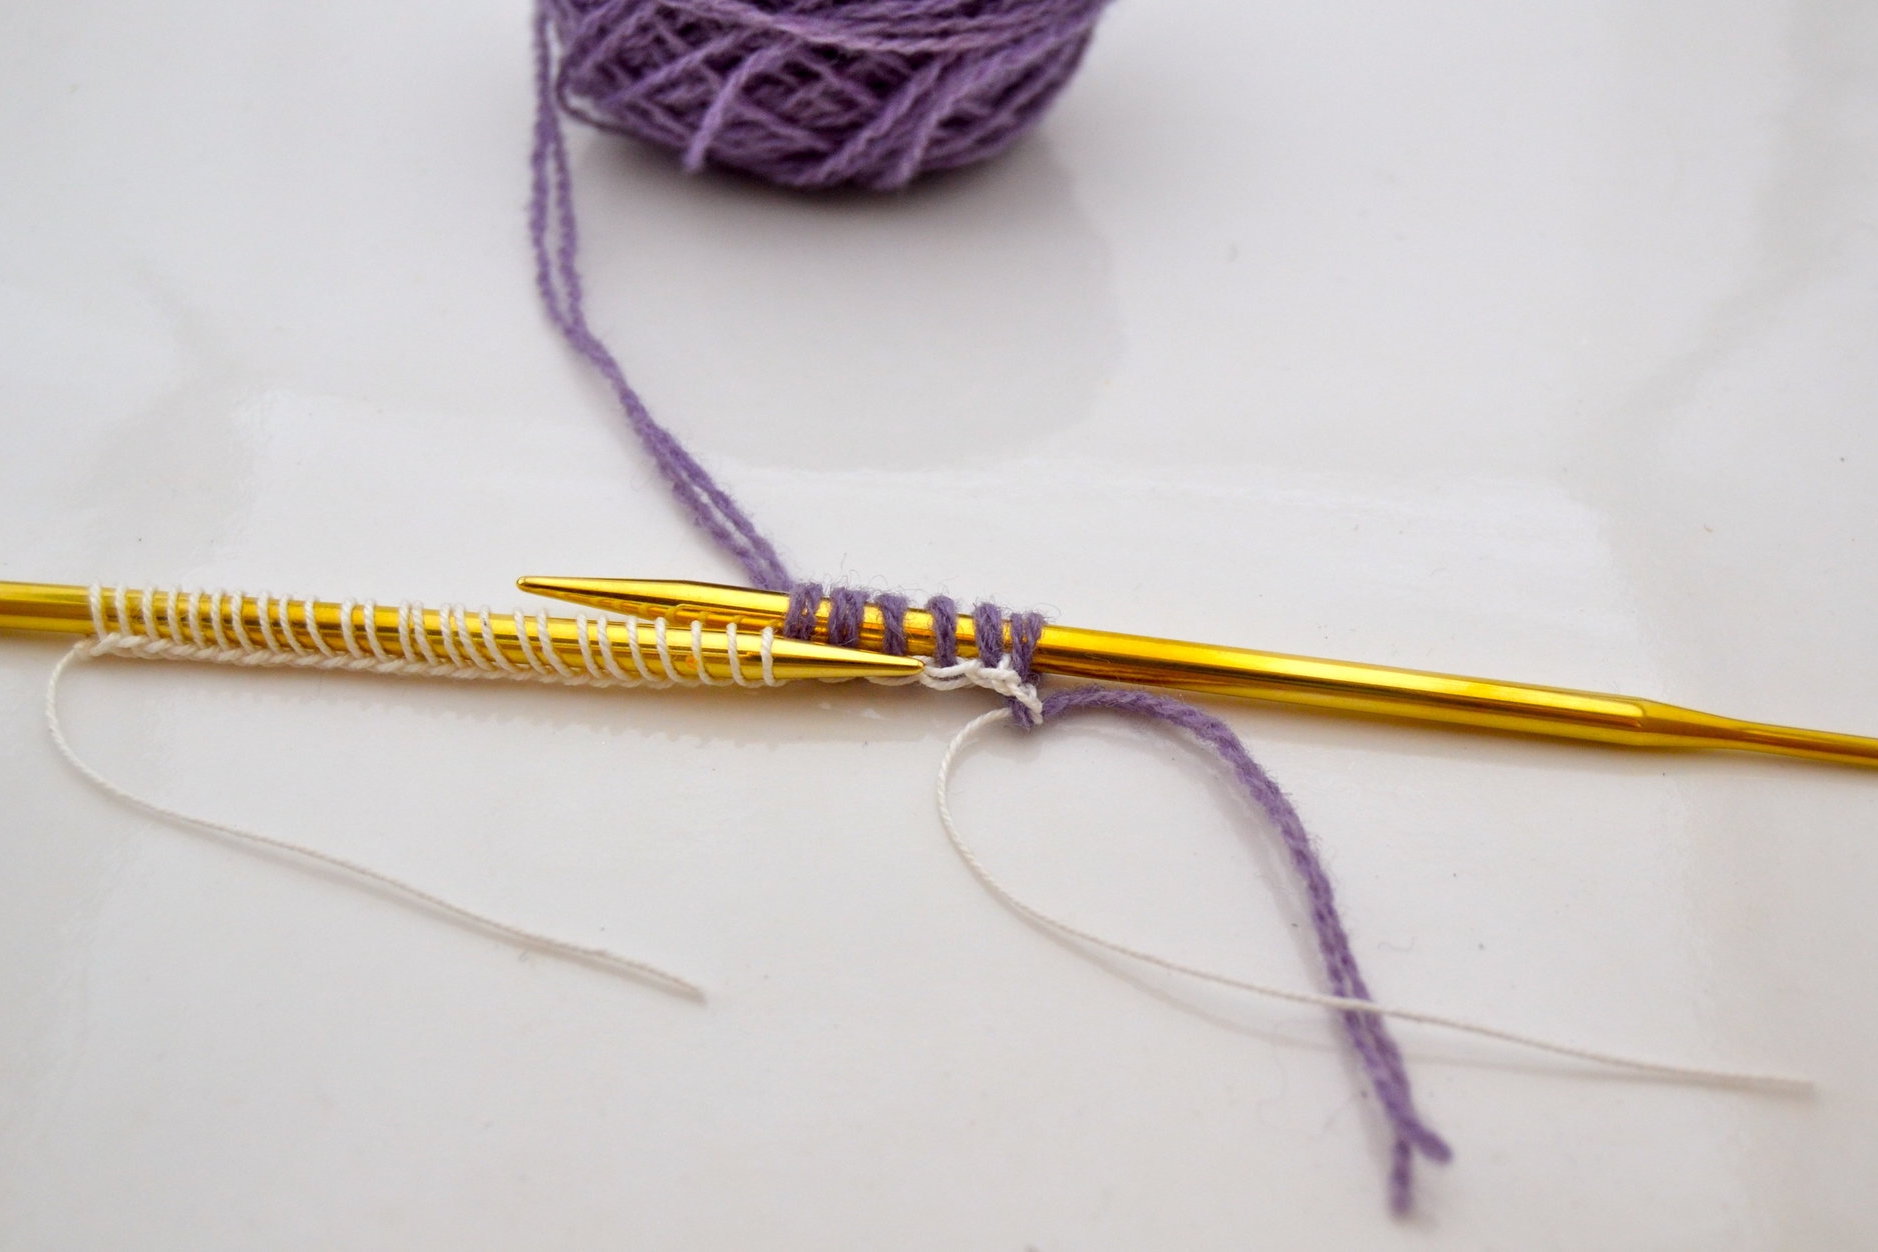
Tie the working yarn to the right side. I just tie an ordinary knot, then knit the provisional stitches:
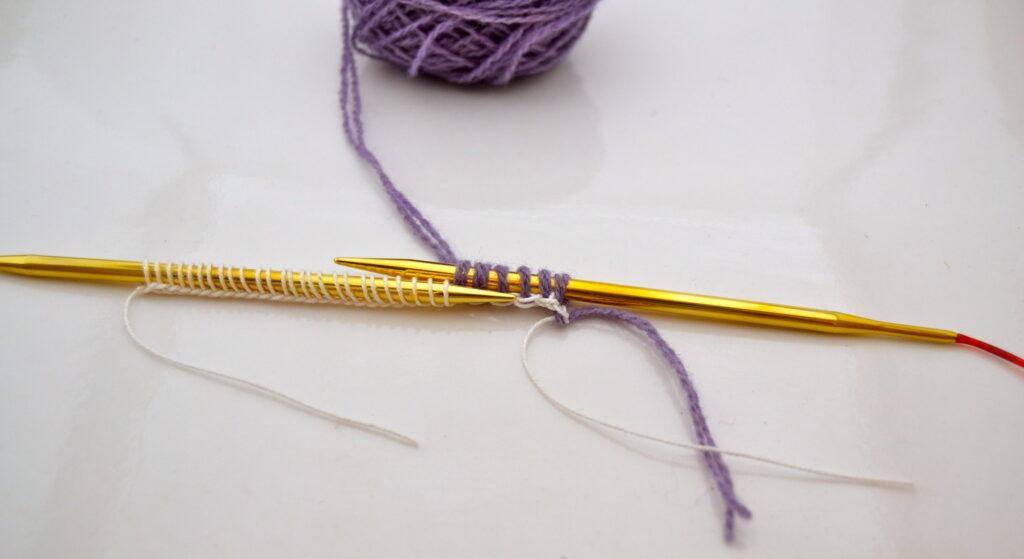
Later you’ll come back and remove the white yarn. Untie the knot and put the live stitches on to a needle as the provisional stitches are unraveled. In this case, my purple yarn end is rather short, it is more practical to leave a slightly longer end in the beginning. That way, the end can be used to knit the first few stitches before adding more yarn.

Posted on Leave a comment

Knitted Cast On

The knitted cast on is a method to cast on stitches to the right of existing stitches or a slip knot. In Danish, one of the names for this cast on is a “school cast on”, indicating that this was the cast on girls used to learn in school. I have a housewife’s handbook from 1951 called “Femina”. That book calls the knitted cast on “knitting up new stitches”, a fine description. Femina uses the knitted cast on when constructing a buttonhole, but it is also a good cast on for modular knitting.

Here, I am showing the knitted cast on to the right of existing stitches. The work is placed as if one was about to work across:

First, knit one stitch as usual:

The left needle is inserted into the stitch from the back. This movement can also be thought of as putting the stitch back on the left needle through the back loop:

The right needle lets go, and one stitch has now been cast on:

To cast on more stitches, just repeat the steps above. Each time, work in the right stitch on the needle.

Posted on Leave a comment

Corrugated ribbing

Corrugated ribbing is a classical element of Fair Isle knitting. In corrugated ribbing, the knits and purls are worked in two different colors using stranded knitting.

I’ve searched through my books on Shetland knitting to try to find out when corrugated ribbing became such a central element. But none of my books comment on that specifically. In Alice Starmore’s “Book of Fair Isle Knitting” there is a photo of the earliest known Fair Isle hats, from around 1850. They are covered in OXO pattern bands, but none of them have corrugated ribbing.

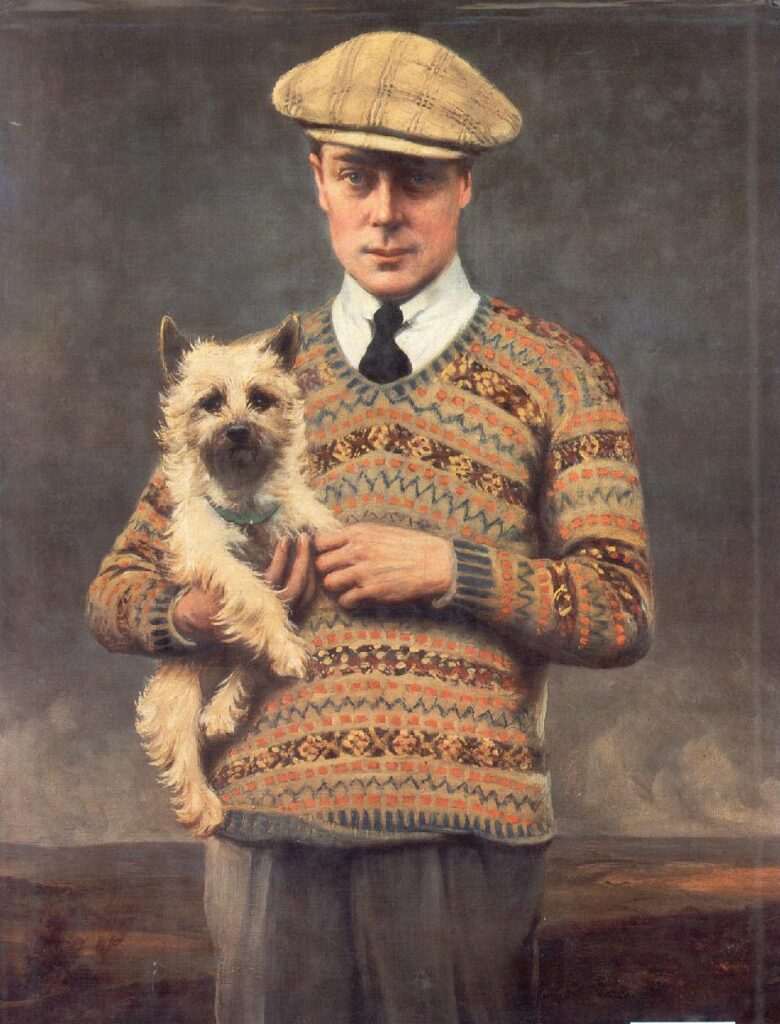
On the knitting famous portrait of the Prince of Wales (later Edward VIII), painted by John Lander in 1925, the prince’s sweater clearly has edges in corrugated ribbing. It also has OXO bands throughout, painted so clearly that you can almost knit them from the painting! It is said that the golfer prince started a new fashion by showing up in this outfit (knit sweaters used to be for poor workers and fishermen). But more on that some other time – here, I’ll just use the prince to say that corrugated ribbing seems to have emerged between 1850 and 1925.

The Prince of Wales, later Edvard VIII, sporting a Fair Isle jumper and holding his favorite dog. John St Helier Lander, Public domain, via Wikimedia Commons

Corrugated ribbing is a wonderfully decorative element, but it does have some fundamental structural flaws. Unlike true, 1-color ribbing, corrugated ribbing is not the least elastic. But that problem can be solved by:

using the same number of stitches for your corrugated ribbing as for the rest of the garment.

That is different from a garment with normal 1-color ribbing and stockinette, for example. In that case, my rule of thumb is:

use 10% fewer stitches for the rib than for the rest of the garment.

But a deeper problem with corrugated ribbing is this: it is tighter than a normal cast on (by normal, I mean a long tail cast on). So if you were to cast on normally and then work corrugated ribbing, the cast on edge will stick out and the rib will never lie flat. The solution is to use another type of cast on. I find the old Norwegian (also known as twisted German) cast on works well.

I first saw the old Norwegian cast on in action when I was teaching children to knit at the Textile Museum in Herning. I was working with Gerda, a volunteer who is in her 80’s. We cast on the stitches for our knitting students, since it is hard enough for them to just knit the stitches. I saw Gerda cast on stitches for a student, and I was quite surprised that her standard cast on technique was not the same as mine. I later connected the dots, and realized she was using the old Norwegian cast on. So that technique must have been in use in this area as the standard method.

The old Norwegian cast on can be used anytime you would use a long tail cast on, but it’s moment to shine is for corrugated ribbing.

Here is a video where I show the old Norwegian cast on:

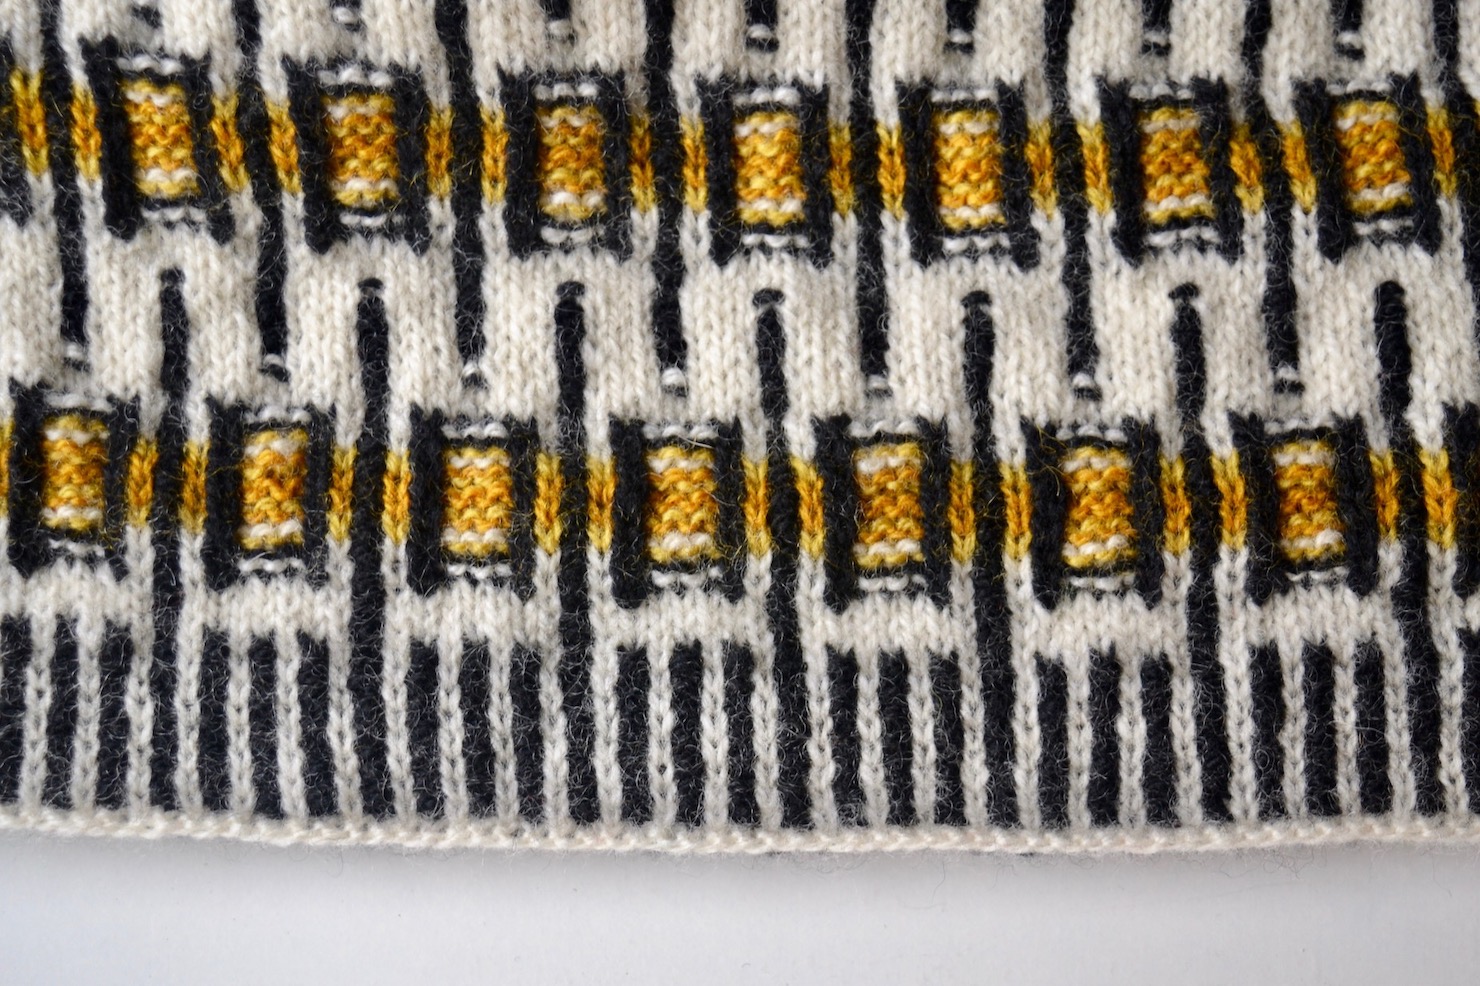
In the last part of the video, I turn the work around. The side that faces away from you as you cast on has a row of bumps that look just like purl bumps. Before beginning the corrugated ribbing, I turn the work so the bumps are facing me: the bump side is the right side. And then it will look like this:

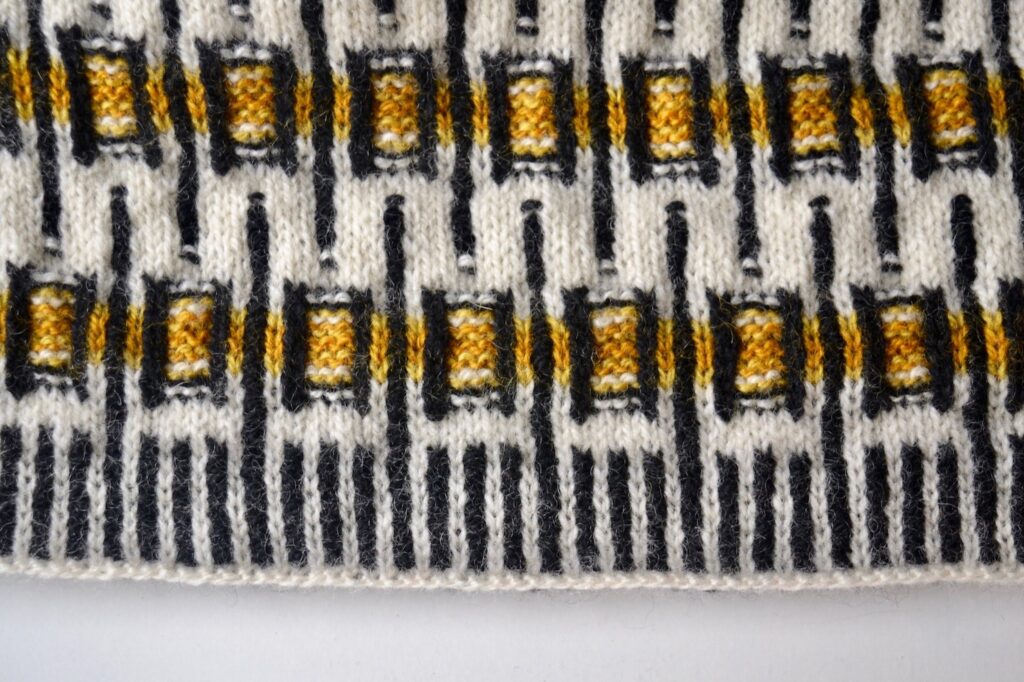
Here, I’ve used the simplest possible corrugated ribbing for the edge of a vest in my own pattern, Folkvang. I began with an old Norwegian cast on in white, and you can just make out the bumps.

The pattern for the Folkvang vest will come later. The vest in the photo above was my prototype, but something bad happened to it when it was almost finished. I had it in my knitting bag in my car, along with a thermos full of tea. The thermos tipped over, the vest was soaked in tea, and the spot covers about half the vest and does absolutely not come off. Right now, I’m knitting something else to get over that event. But I’ll return to that design as soon as I find the mental strength.

Posted on Leave a comment

Beginning a Steek

Steeking is a great technique for stranded knitting (also known as Fair Isle knitting). With the addition of steek stitches, a vest, sweater, or cardigan can be knitted entirely in the round, then cut open. So then, you don’t have to knit flat in stranded knitting, and that’s a major advantage. Purling in stranded knitting is notoriously difficult.

Some knitters are afraid of cutting their knitting. Me, I love it! It’s not dangerous, and as long as you use a suitable yarn type, there is no risk that the cut stitches unravel.

By suitable yarn type, I mean a Shetland-type wool, Rauma Finull, or Retrofutura 2-ply Lambswool. All are “sticky” wools, where the strands of wool slightly adhere to their neighbors. Even with unsuitable yarn types, steeking is still possible. In that case, just make two machine seams along the steek and cut between them, that will completely eliminate the risk of unraveling.

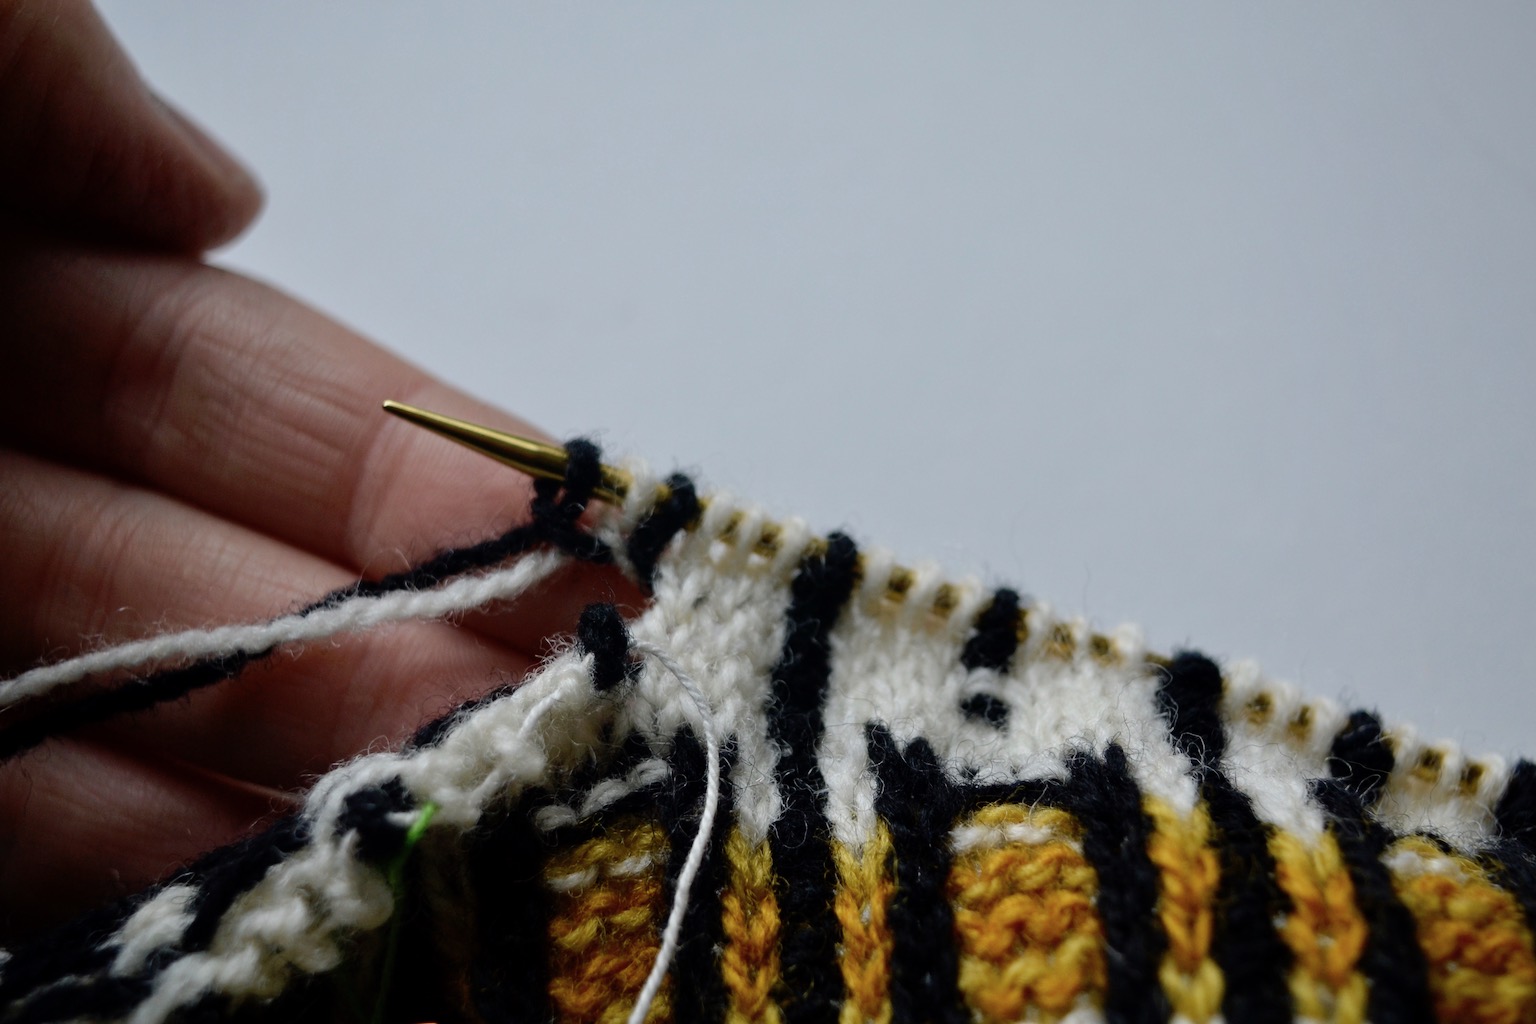
Here, I’ll show how to cast on for a steek using a backwards loop cast on with alternating colors. I’ve taken the photos while knitting a Folkvang Vest (pattern to come later) where the body is worked from the bottom up. Here, I’ve saved stitches on waste yarn for the underarm, and I’m ready to cast on the steek stitches:

First, I cast on a black stitch – it’s not hugely important which color you begin with, I chose black to make the float on the back as short as possible:

Then, I let the white yarn cross over the black yarn and cast on a white stitch:

Let the black yarn cross over the white yarn and cast on a black stitch:

Let the white yarn cross over the black yarn and cast on a white stitch:

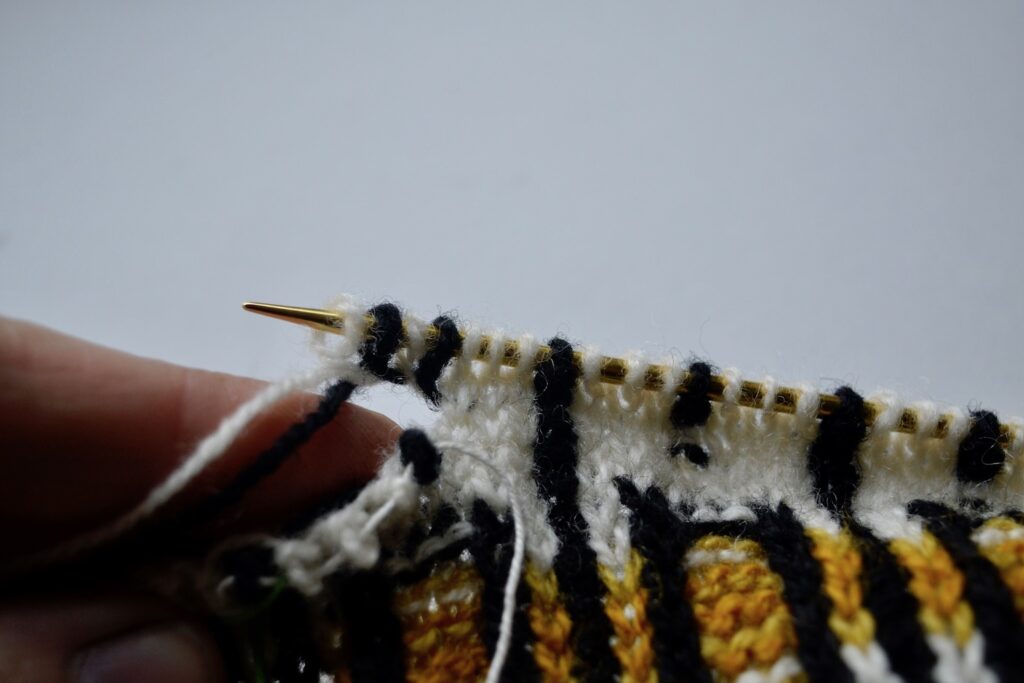
And so on! The yarns are twisted for each stitch, reinforcing the cast on edge. Here, I’ve cast on 8 steek stitches, my usual number:

I usually place markers around the steek stitches. Otherwise, I easily get confused by all the color changes, especially when making decreases around the steek stitches.

Astrids butik is my shop, and the place to find all yarns and patterns connected to the project Retrofutura. It is also the place to find all products connected to the project Midgaards Have – natural dyes, yarn for dyeing, seeds. And a growing selection of other yummy yarns and knitting design