Posted on Leave a comment

Memory Vest & 3 Needle Bind Off

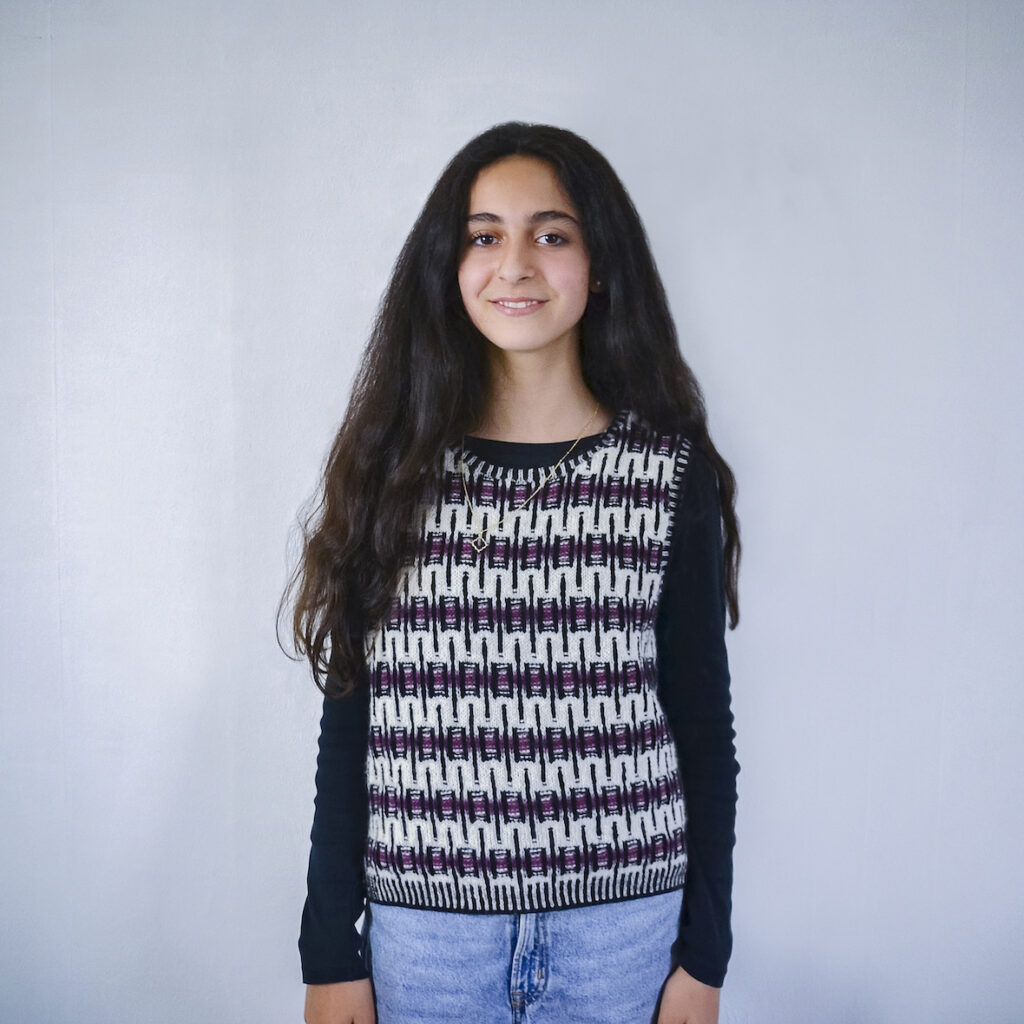
I’ve been working on a modern version of a child’s vest, knit by my maternal grandmother during the first half of the 70’s.

My maternal grandmother, Judith Harvest, was born in the northern Danish town of Aalborg in 1908. In so many ways, she is my entry point into historical knitting. Although she died when I was little, I grew up with her knitting. And of course, my mother taught me everything in knitting that her mother taught her. I am currently working on finding out more of my grandmothers’ story. So this is definitely not the last time she will be mentioned on this page.

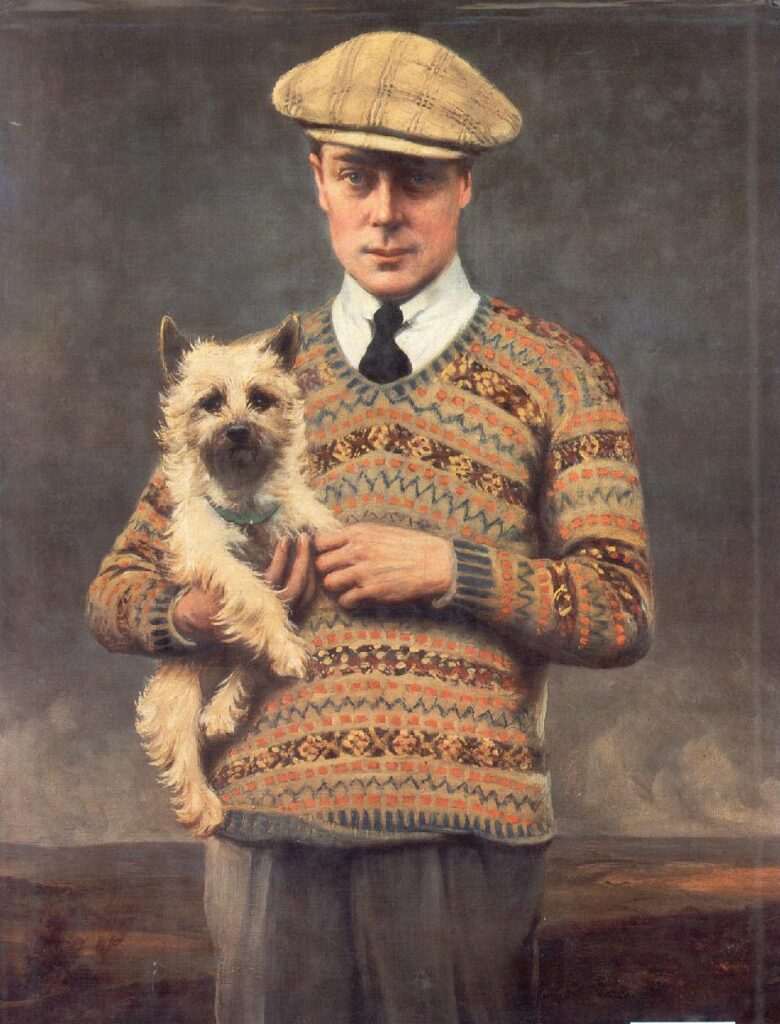
I first tried knitting the patterns from the small vest in 2014:

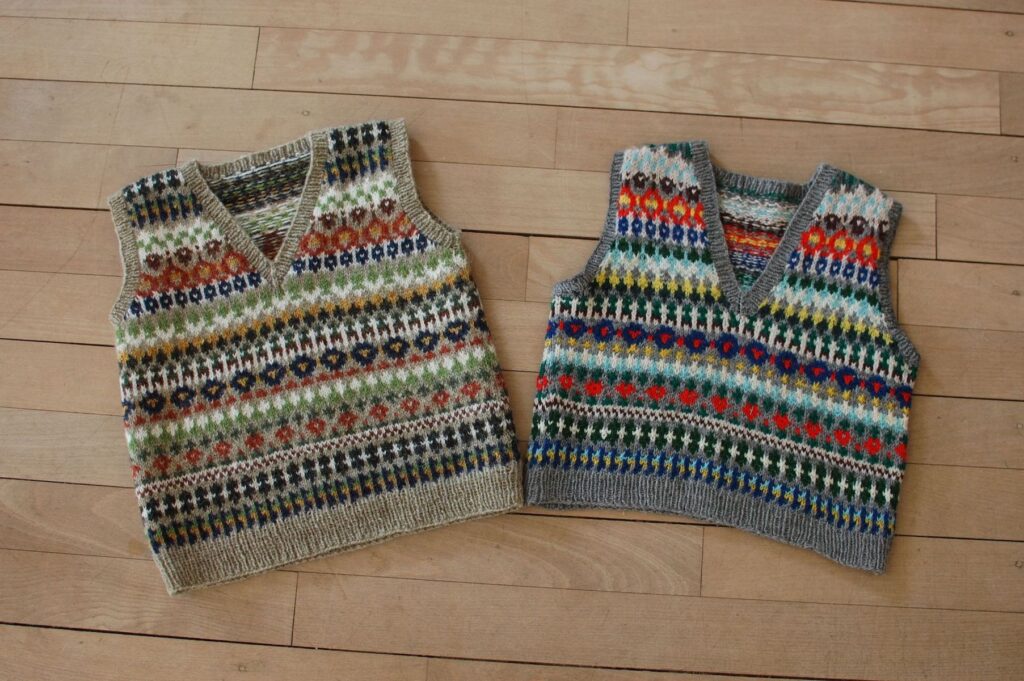
The child’s vest from the early 70’s. Judith Harvest’s original on the right and my muted version on the left.

Now, I’ve dug up my notes on the vest, and I’m going to turn them into an actual knitting pattern. It will be called “Memory Vest” and will come in women’s sizes.

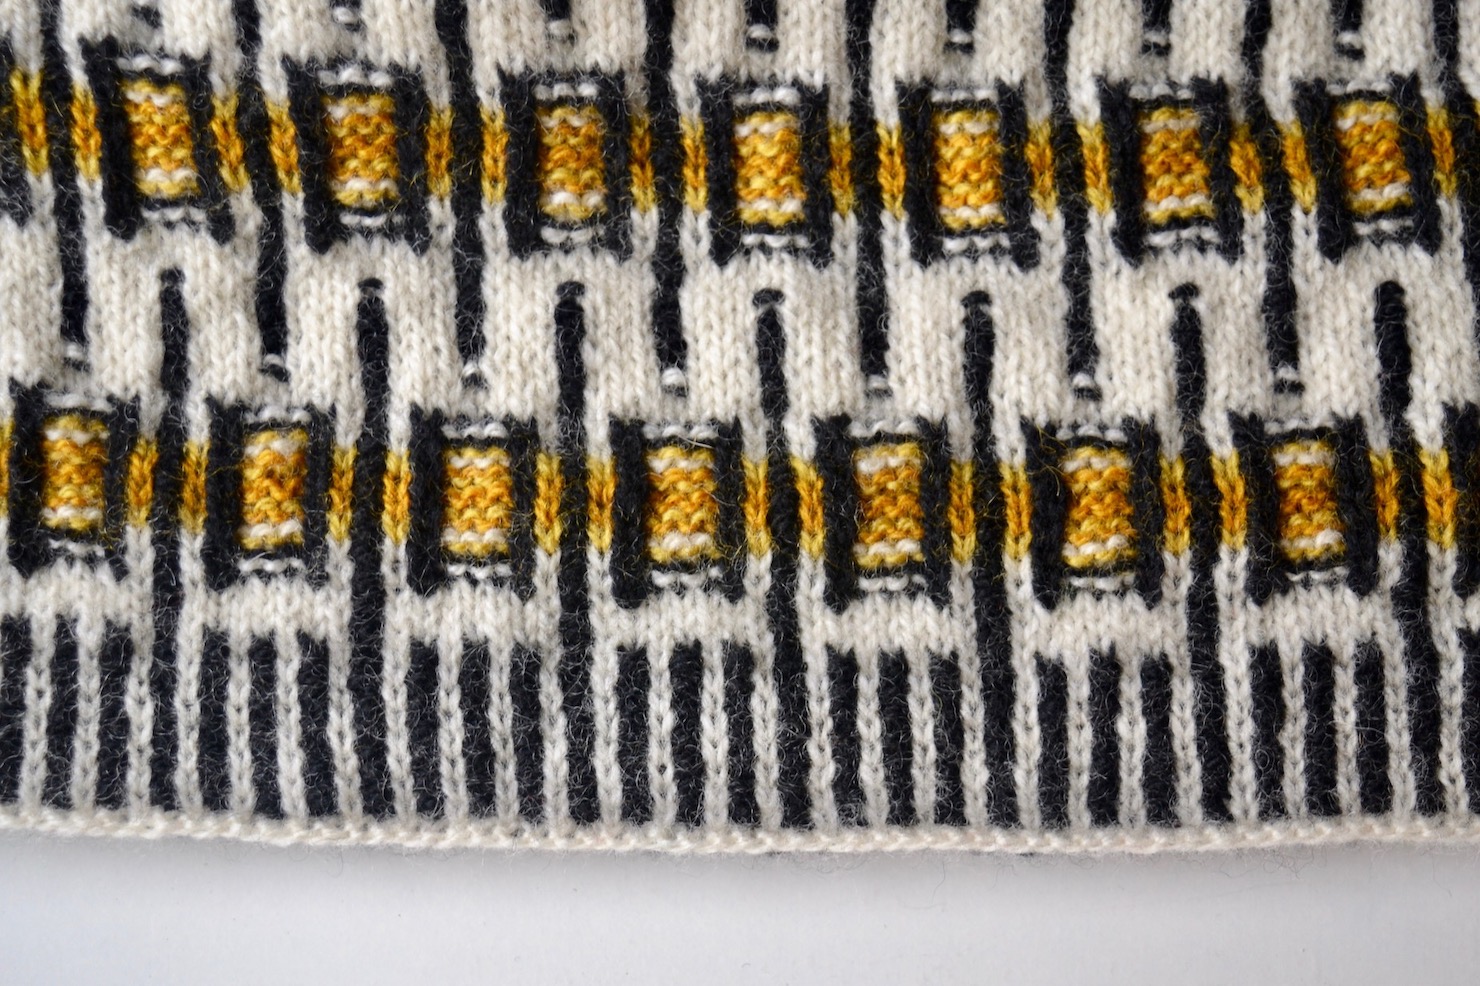
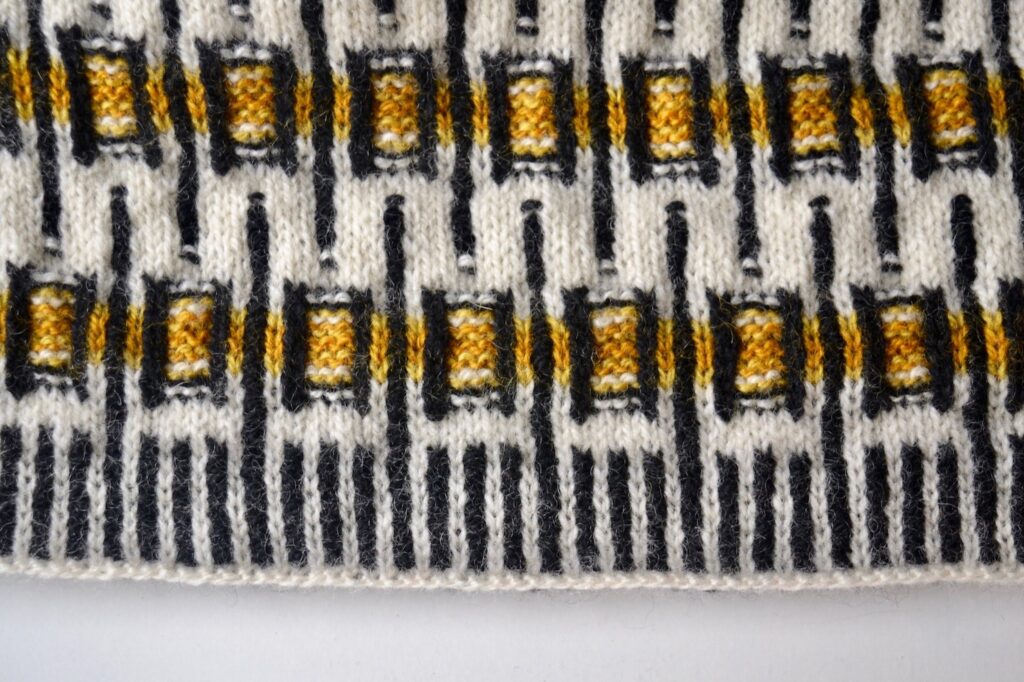
The colors of the original are both garish and somewhat uncoordinated. And that is not a criticism – it just goes to show that my grandmother grabbed into her yarn basked and used whatever came out. She did not plan patterns out beforehand. Look at the large red and yellow pattern band on the top part of the original. It is not centered around the V-neck, that’s what happens when you just knit! She must have thought that it was not a big problem.

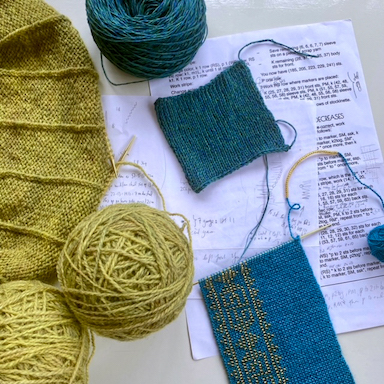
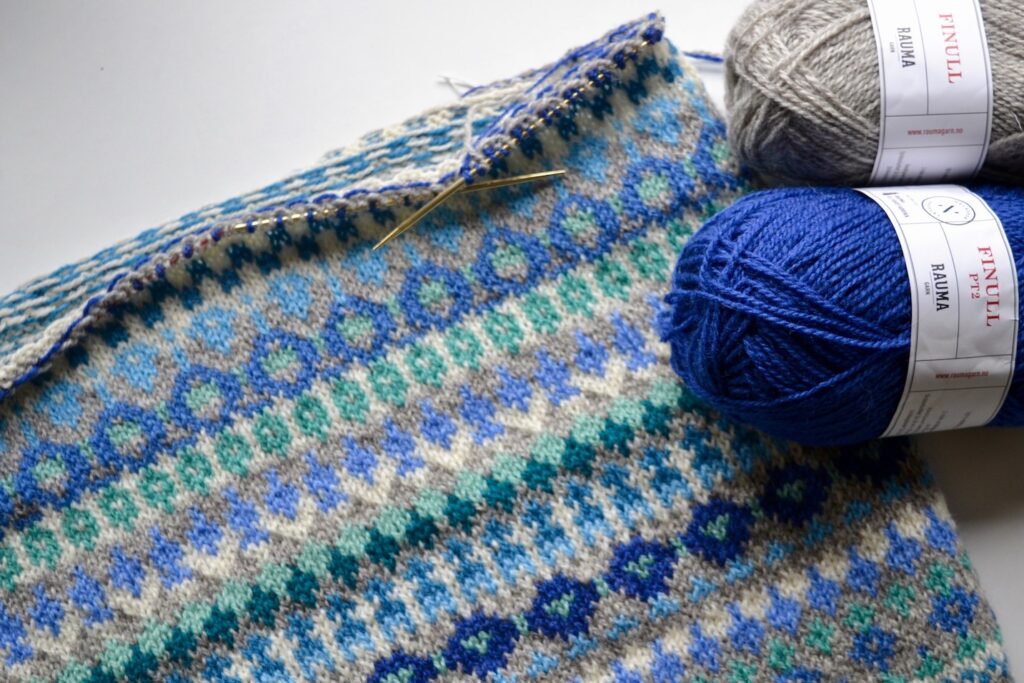
My first adult version of the vest is in cool aqua shades with a light gray background. I am knitting it with Rauma Finull

And that finally brings me to the topic I was actually going to write about in this post: how I close shoulder seams using a 3 needle bind off. It is basically a variation on the standard bind off (or cast off, whatever you like to call it) where you knit 2 stitches and pass the first over the last, knit one, pass over, and so on.

In a 3 needle bind off, two stitches from two different needles are knit together (instead of just knitting one in the standard bind off). The 3 needle bind off allows you to knit two pieces together with a strong and slightly elastic join, perfect for a shoulder seam.

When the body is finished, I turn the work inside out. Here, the stitches for one shoulder are held, the front and back stitches each on their separate needle (or actually two ends of a circular needle in this case).

A third needle is inserted through one stitch from each of the two needles holding the stitches – the first stitch on one needle and the front stitch on the other

Then, the two stitches are knit together

Repeat for the next two stitches, that leaves two stitches on the right needle

Just like in a standard bind off, pass the first stitch (that was worked first) over the last

One stitch was bound off. Then, knit together the next two

And pass the previous stitch over. Keep going, knitting two together and passing the previous stitch over, until all stitches have been worked

Break the yarn and pull the end through. The bind off is finished.

When I worked my blue version of the Memory Vest, the stitches to be bound off in shoulder seams were all grey. If you find yourself needing to 3 needle bind off color-knitted rows, the best thing is to work in the color of the stitches, holding the yarns in the same way as when doing colorwork. The yarn used for the bind off will show just slightly on the right side.

Posted on Leave a comment

Corrugated ribbing

Corrugated ribbing is a classical element of Fair Isle knitting. In corrugated ribbing, the knits and purls are worked in two different colors using stranded knitting.

I’ve searched through my books on Shetland knitting to try to find out when corrugated ribbing became such a central element. But none of my books comment on that specifically. In Alice Starmore’s “Book of Fair Isle Knitting” there is a photo of the earliest known Fair Isle hats, from around 1850. They are covered in OXO pattern bands, but none of them have corrugated ribbing.

On the knitting famous portrait of the Prince of Wales (later Edward VIII), painted by John Lander in 1925, the prince’s sweater clearly has edges in corrugated ribbing. It also has OXO bands throughout, painted so clearly that you can almost knit them from the painting! It is said that the golfer prince started a new fashion by showing up in this outfit (knit sweaters used to be for poor workers and fishermen). But more on that some other time – here, I’ll just use the prince to say that corrugated ribbing seems to have emerged between 1850 and 1925.

The Prince of Wales, later Edvard VIII, sporting a Fair Isle jumper and holding his favorite dog. John St Helier Lander, Public domain, via Wikimedia Commons

Corrugated ribbing is a wonderfully decorative element, but it does have some fundamental structural flaws. Unlike true, 1-color ribbing, corrugated ribbing is not the least elastic. But that problem can be solved by:

using the same number of stitches for your corrugated ribbing as for the rest of the garment.

That is different from a garment with normal 1-color ribbing and stockinette, for example. In that case, my rule of thumb is:

use 10% fewer stitches for the rib than for the rest of the garment.

But a deeper problem with corrugated ribbing is this: it is tighter than a normal cast on (by normal, I mean a long tail cast on). So if you were to cast on normally and then work corrugated ribbing, the cast on edge will stick out and the rib will never lie flat. The solution is to use another type of cast on. I find the old Norwegian (also known as twisted German) cast on works well.

I first saw the old Norwegian cast on in action when I was teaching children to knit at the Textile Museum in Herning. I was working with Gerda, a volunteer who is in her 80’s. We cast on the stitches for our knitting students, since it is hard enough for them to just knit the stitches. I saw Gerda cast on stitches for a student, and I was quite surprised that her standard cast on technique was not the same as mine. I later connected the dots, and realized she was using the old Norwegian cast on. So that technique must have been in use in this area as the standard method.

The old Norwegian cast on can be used anytime you would use a long tail cast on, but it’s moment to shine is for corrugated ribbing.

Here is a video where I show the old Norwegian cast on:

In the last part of the video, I turn the work around. The side that faces away from you as you cast on has a row of bumps that look just like purl bumps. Before beginning the corrugated ribbing, I turn the work so the bumps are facing me: the bump side is the right side. And then it will look like this:

Here, I’ve used the simplest possible corrugated ribbing for the edge of a vest in my own pattern, Folkvang. I began with an old Norwegian cast on in white, and you can just make out the bumps.

The pattern for the Folkvang vest will come later. The vest in the photo above was my prototype, but something bad happened to it when it was almost finished. I had it in my knitting bag in my car, along with a thermos full of tea. The thermos tipped over, the vest was soaked in tea, and the spot covers about half the vest and does absolutely not come off. Right now, I’m knitting something else to get over that event. But I’ll return to that design as soon as I find the mental strength.